Looking for a guide on house plant care that walks you through how to repot a plant?
Or maybe you’ve noticed your houseplant is looking a bit sad but you aren’t sure why? If you suspect you may have a rootbound plant in your home and you have no idea what to do next or where to find the right plant pot, I’ve got you covered.
In this post, I’ll walk you through answers to some common houseplant repotting questions and you’ll find a step-by-step guide for how to repot your plants.
p.s. If you like this type of content, you may love this post I wrote on a beginner’s guide to starting an herb garden!
This post is about how to repot a plant.
Signs to watch out for that may indicate you have a root-bound plant and need to repot:
- Roots are beginning to grow through the drainage holes at the bottom of the current grow pot.
- When watering the plant, you notice that the water flows through quickly and pools in the drainage tray.
- The plant is becoming top-heavy and leaning to one side.
- The plant has significantly decreased in putting out new growth.
- Roots are showing along the top of the planter.
- The plant requires more frequent watering, as the soil seems to dry out quickly between waterings.
- The foliage is drooping.
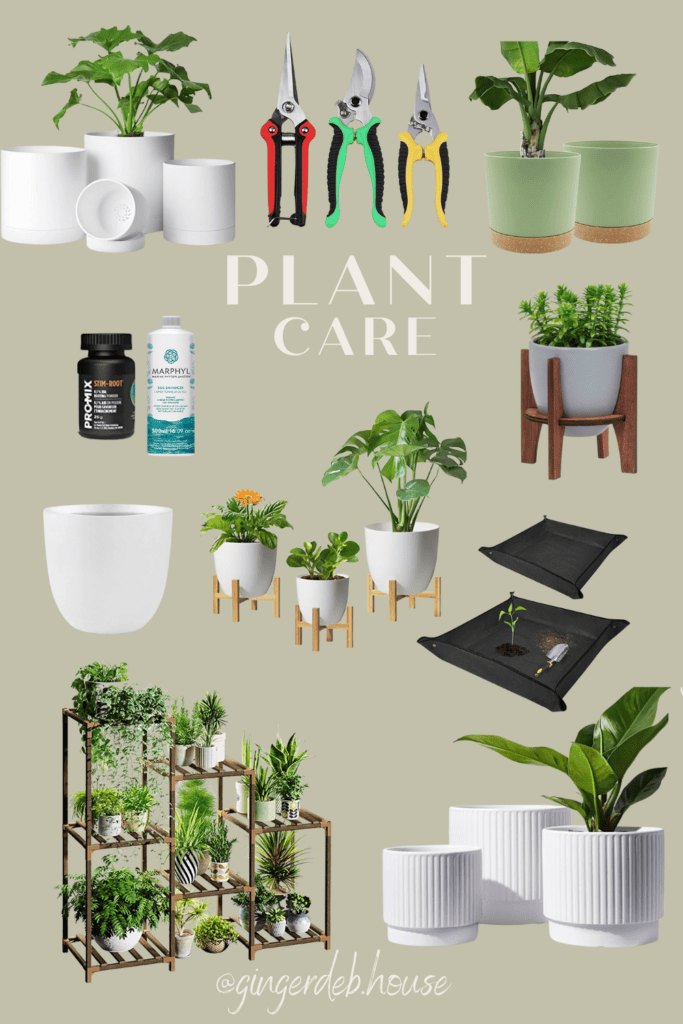
Click the above image to shop the products.
Here are the supplies you will need:
- The plant
- The planter you’re planning to pot into (here’s a roundup of cute planters)
- Fresh potting mix
- Small rocks if not using a planter with a drainage hole.
- Gardening gloves.
- A large bowl
- A small trowel
- A container to hold water
- A potting tarp or surface you can easily clean
- A moisture meter
7 Simple Steps To Repot Your House Plant
1. Prepare your work station
Repotting plants is a messy job so it’s good to protect the area you plan to work in. If it’s nice outside, I’ll sometimes move all my supplies outdoors and set up a potting area in my back yard. But if space is limited or you’re in a home with no outdoor area, these potting mats are an incredible option to keep the soil contained!
Gather up all of the supplies listed above and then get ready to repot those plants!
2. Add fresh potting mix to the large bowl
Always begin by prepping your potting mix before you start working with the plant. I suggest taking a large mixing bowl or bucket, adding in your potting mix and a splash of water to moisten it. Use the trowel to stir up your mixture so that your soil is prepped for the roots of the plant.
Once your potting mix is ready, place a couple of scoops into the bottom of the new planter – fill it about one third of the way full. If the planter you are using does not have a drainage hole and a drainage tray, I recommend placing a handful of small rocks at the bottom of the planter to prevent root rot. From there, simply scoop your potting mix on top of the rocks.
3. Gently remove the plant from it’s current planter
Begin to gently rock the plant back and forth to free it from the current planter. If your plant is still in the growing pot, you can gently squeeze the pot to loosen the root ball. It may take a bit of effort but the roots are hearty, so it’s okay if you need to tug it a bit.
4. Loosen the roots
Once the plant is freed from the old planter, you’ll want to loosen the roots as they are often root-bound. Gently tug and pull the root ball to loosen the roots. You’ll also want to shake off some of the old potting mix, as this loses nutrients over time. That is why we are repotting the plant into fresh potting mix.
5. Add the plant
Once the roots are loosened, pop the plant into the center of the new planter. You’ll need to hold the plant upright as you then add fresh potting mix around the roots to fill up the rest of the planter.
6. Water and watch it grow
After the plan is repotted, give it a bit more water. One thing that I highly recommend if you have any plants in your home is to pick up a water meter. This tool will take the guesswork out of your plants watering needs, as it clearly indicates if the soil is dry or moist.
7. Monitor for signs of shock
After being transplanted, plants will often experience signs of shock (e.g. dropping leaves, showing signs of stress such as discolouration or drooping leaves). Don’t panic! This is normal and something that almost always occurs.
Continue to water and tend to your plant as usual. Due to the new conditions of the plant (e.g. fresh soil, a bigger home, etc), as I mentioned above, using a water meter to ensure proper watering amounts is incredibly helpful at this stage.
This post was about how to repot a plant.